Friday, October 28, 2016

Spider Web Halloween Card

Spider Web Halloween Card

As promised last week, here is one more Halloween card, this time a simpler one to make. I used a spider web embossing folder from the Paper Studio, used a Cricut cut for the spider web, stamped a spider, layering it and attaching it to the center of the web, and attached a simple greeting! Done!

There are several spider web cuts on various Cricut cartridges, including Close to My Heart Artbooking, p. 54; Paper Dolls Dressup, p. 30, Wild Card, p. 37, Create a Critter2, p. 53, and Happy Hauntings, p. 102. Just pick your favorite. I cut the web in half and attached it to the card only in the middle. Helpful Hint: If you don't already know about it, there is a great website to search for different cuts without having to search through your cartridges to find them. It is http://www.mycutsearch.com/ 

The card is a top folding 4-1/4 x 5-1/2 inch card. The spider is a retired stamp from Stampin' Up, but there are a lot of cute spider stamps out there. I stamped it on a white 1-3/8" circle, layering it on top of an orange 1-1/2" circle, and then onto a black 1-3/4" scallop circle. The greeting is from Teeny Tiny Wishes by Stampin' Up. The card base is Pumpkin Pie, also from Stampin' Up.

Have a safe and fun Halloween!

Friday, October 21, 2016

Night Owl Halloween Card

Night Owl Halloween Card

Whooo doesn't love an owl? I know I do. This cute little owl is made with the Create a Critter2 Cricut cartridge, p. 57, cut at 3-1/2 inches. I cut the the layers in various Halloween colored papers and put it all together to create this multi-colored owl for Halloween.

The witch's hat is is cut at 3-1/2 inches also. I cut a white shadow piece, slightly offsetting it behind the owl, to create the shadow. I used Wink of Stella on the hat so it would stand out from the black background better.

The branch is also on p. 57 and is cut on the accessory setting at 4 inches. I also cut one in white to offset below the black brand to create the shadow.

The papers used for the owl are just scraps from my stash, but the card itself is made with Stampin' Up products. The base is 4-1/4 x 5-1/2, top folding, using Pumpkin Pie cardstock. The white layer is cut at 4 x 5-1/4. and the black, orange and white patterned paper is from the Halloween Night DSP, cut at 3-7/8 x 5-1/8. The greeting is also from Stampin' Up, a retired stamp from the Delightful Dozen stamp set. I used a small oval punch and a scalloped oval punch layered together. The little bat is a sticker from Hobby Lobby. The bow is made with Recollections orange, black and white baker's twine from Michaels. I added two black sequins to the eyes and I also scattered some orange sequins around the card to finish it.

I will have one more Halloween card next week, a little simpler, so if you like to keep things simple, then come back for that one!

Friday, October 14, 2016

Halloween Black Cat Treat Bag and Freaky Friends Treat Holders


Do you need treat bags or cute little treat holders for classroom treats or for trick-or-treaters? Here are some I made. The bag above is a 4-1/2 x 7-3/4 flat brown bag you can get at Hobby Lobby. Cuts for the black cat body are made with 2 pumpkin cuts from Create a Critter2 cartridge, p. 54, cut on the shadow setting, at 3" and 2-1/2". The hat is from the same CAC2 cartridge on p. 53, cut at 3 inches. The hat band is cut in orange, also at 3 inches. I added Wink of Stella to both the hat and the band to make it stand out a little from the black cat. I also added dimensionals behind the hat.

How to Put the Cat Together:
Trim off the top stem and leaves of the pumpkins and save two of the leaves for the ears of the cat. Attach behind the smaller pumpkin. Attach the smaller pumpkin with ears (the head) slightly offset to the right onto the larger pumpkin (the cat body).

I punched out a 2 inch circle in black, cutting off the edges (not quite cutting the circle in half), for the cat's haunches, and another 2 inch circle in orange, trimming off just the rim to use for the cat's collar. I did the same thing for the cat's tail, cutting it from a black 2 inch circle.

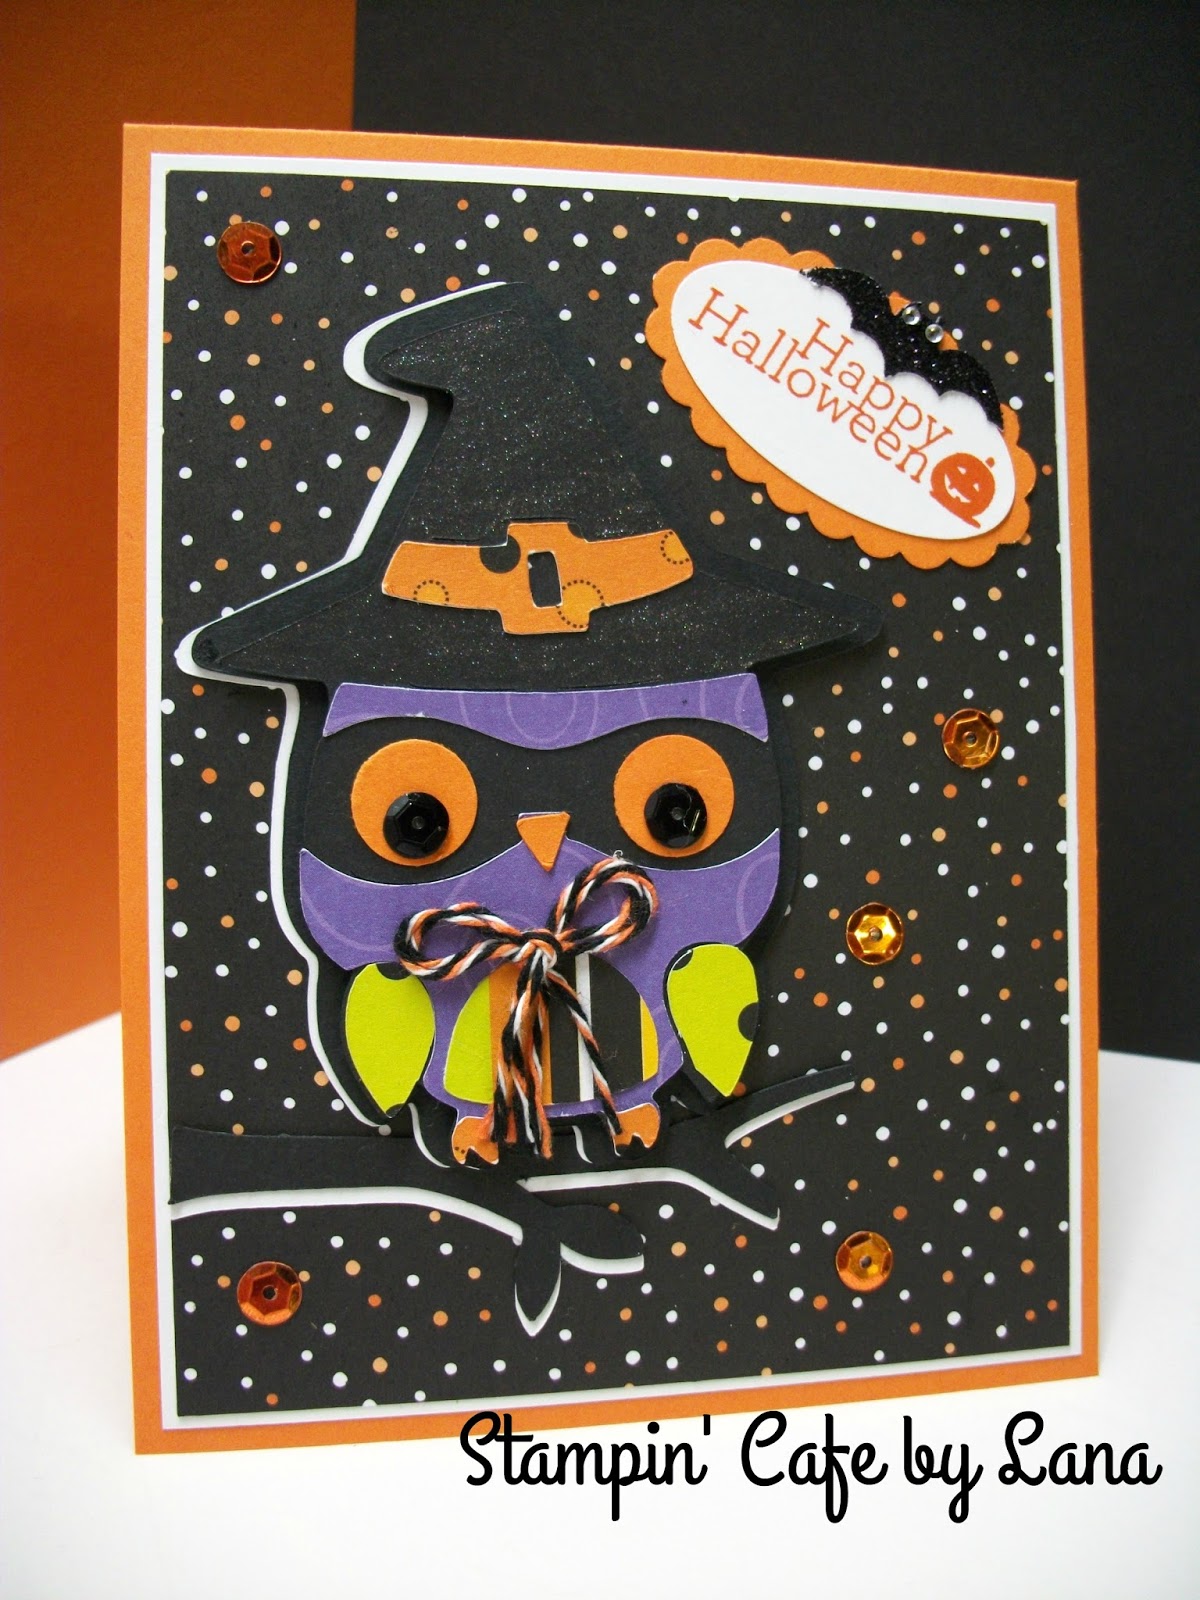
The eyes are 1/2 inch circles in white, cut in half, and the pupils are 1/4 inch circles, adding a dot of white ink to the centers. The purple glasses are from Everyday Paper Dolls, p. 37. I added Wink of Stella to give them some pizzaz! The mouth is a 1/2 inch orange circle cut in half. Whiskers are thin strips of white cardstock. The nose is a small heart punch. I tied a bow with some orange and black baker's twine and attached it to the collar.

The flags attached at the upper lefthand corner are hand cut from Stampin' Up's Halloween Night Designer Series Paper. I added a punched out 2 inch orange circle behind the flags. The Halloween greeting is from Delightful Dozen, a retired Stampin' Up set, punched with a retired label punch.

These bags will hold full size candy bars like Kit Kats, etc.

If you want a simpler and smaller treat holder, here are some I made using directions from Julie Davison, Stampin' Up Demonstrator. She has a video on You-Tube. Click here to see her video.


These are made with a 2 x 9 inch piece of cardstock, scored at 4" and 5", and the ends are scalloped using the Scallop Tag Topper punch from Stampin' Up. The black band that holds it together is cut at 1-1/2 x 6-1/2 inches and is scored at 2", 3", 5" and 6", Secure the band with tear and tape and insert over the top of your scored and folded large tag piece. I used a little bit of glue to hold the back of the band onto the tag to give it more stability.

I used the retired Freaky Friends stamp set from Stampin' Up in various colors, punched them out with whatever circle punch fit around the image, and then punched out a larger circle to add behind it, using various scraps of patterned paper. I then attached the circles to the front of the holders using dimensionals. I added some little sparkly bats I got at Hobby Lobby and tied the tops with some black and white baker's twine. These little treat holders will hold the individually wrapped fun size candies or candy bars.I think they would make cute treats for co-workers too! If you would like to see a photo of all these treat holders lined up, they are featured on my Facebook cover page. Come by and visit sometime!


Friday, October 7, 2016

Fall Apple Tree Card


This week's post is a fall apple tree card. You can't think of fall without thinking of apples! This is a top-folding 4-1/4 x 5-1/2 card in Crumb Cake, layered with Real Red and Olive Green, all Stampin' Up colors. The Olive Green layer is embossed using the Cuttlebug Divine Swirls embossing folder. The swirls represent the fall wind.

I cut the tree in brown from the Create a Critter2 cartridge, p. 57, at 3-3/4 inches. The apples and leaves are punched with the Tree Builder punch by Stampin' Up, stamped with the Sprinkles of Life stamp set, hand colored and inked. The bushel basket is also from the Sprinkles of Life stamp set. I just cut it down a little bit to be more proportionate to the tree and inked the edges. I popped up the tree and the bushel basket with dimensional dots. The greeting is from the Endless Thanks stamp set from Stampin' Up and is punched out with the small oval punch and then layered onto a scallop punch in red.

The weather has finally turned cooler and I can think more about fall and all the good things that come with it! Have a good week and I'll be back next week to start my Halloween  projects!

Products Used:
Cuttlebug Divine Swirls Embossing Folder
Cricut Create a Critter2 cartridge
Stampin' Up Tree Builder Punch
Stampin' Up Sprinkles of Life Stamp Set
Stampin' Up Endless Thanks Stamp Set
Stampin' Up Cardstock in Crumb Cake, Real Red, Old Olive, Chocolate Chip, and Whisper White
Stampin' Up inks in Pumpkin Pie, Crumb Cake, Early Espresso and Real Red