
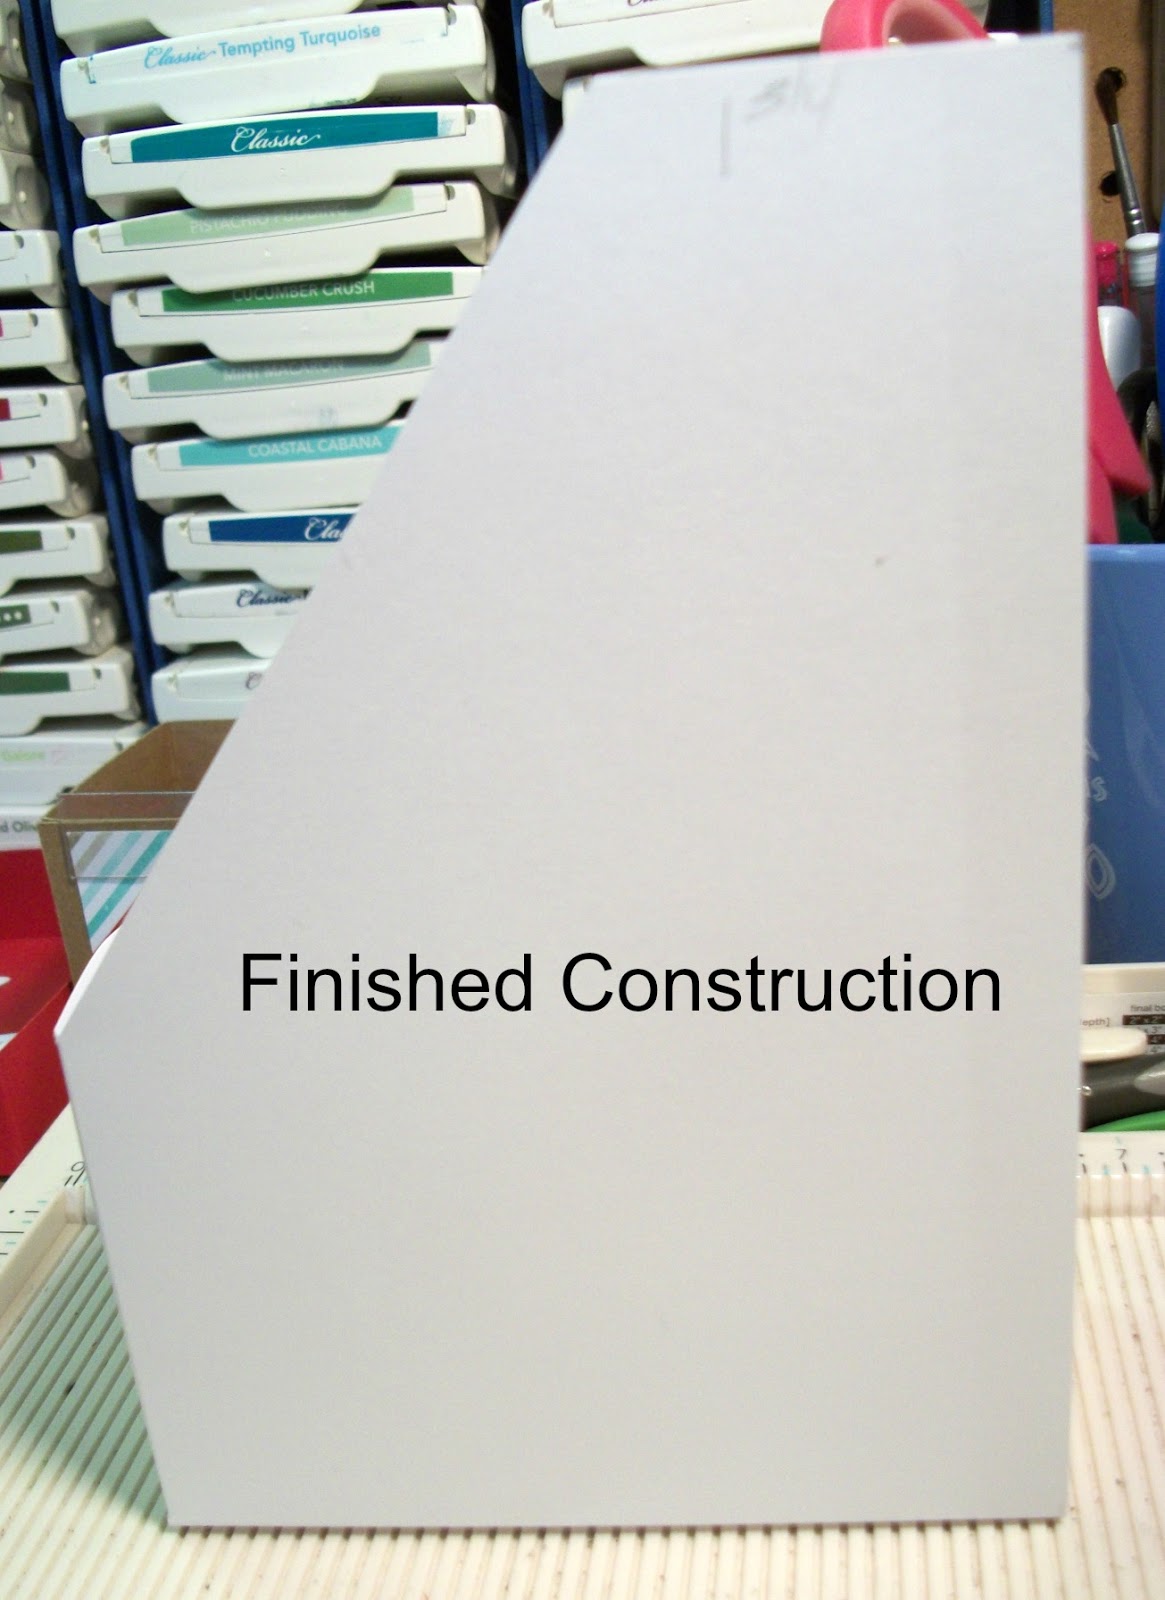
These are just the handiest way to store your finished cards! They are not stored away in a box out of sight, out of mind, and are easily accessible when you need a card, especially if you divide them into categories! Finished boxes measure 4-1/2 x 6-1/2 inches and are 2 inches wide. They look great on a shelf! Here are some other views:


 |
| See Detailed Instructions Below |

Want the written directions? Here they are:
Instructions:
For this project you will need a piece of 8-1/2 x 11 inch
cardstock, plus another piece cut at 3 x 7 inches. Use heavyweight cardstock
for stability and durability. I used Stampin’ Up.
1. First, score the 8-1/2 x 11 inch piece on the 11 inch side
at 4-1/2 and 6-1/2 inches. Turn on the 8-1/2 inch side and score at 2 inches.
2. Turn the piece back around on the 11 inch side (with
score line at the bottom) and place a pencil mark or small score mark
at 1-3/4 and 9-1/4 inches.
3. Measure down 3-5/8 inches from the top between the two
vertical score lines and draw a pencil line between the two score lines at the
3-5/8 inch mark. From the score lines to the marks you made along the top, draw
a pencil line from one point to the other. This is the cut away piece. Helpful Hint: SAVE this piece as a template
so next time you can just trace or cut around this piece and you won’t have to
go through all the markings again, plus you will be assured all your boxes will
be identical if you make multiple boxes.
4. Now, with the top piece cut away, cut up the vertical score
lines along the bottom up to the 2 inch horizontal score mark. This will be the
bottom of the box.
5. On the 3x7 inch piece, score at ½ inch on 3 sides. Cut up
the vertical score lines on the 3-inch side to the horizontal score line. Fold
and adhere tabs like you were making a box. This will only be 3-sided and will
be the back of the box.
6. Fold the score lines on the bigger box piece. With this
piece laying down, adhere the smaller 3-sided back piece to the bigger box
piece along the 8-1/2 inch side. Bring the other side up and attach it to that
side, also attaching the third side to the back of what is now the box. Fold in
and attach the bottom flaps to complete the box.
7. Decorate as desired. I cut a strip of designer paper 2-1/2
inch wide by about 12 inches long and wrapped it around 3 sides of the box,
leaving the back blank because it will be against the shelf. It will be a
little long, but this allows you to wrap it around the box without first
scoring, and then just crease the folds and cut off any excess hanging over.
Attach a label of your choice to the front or tie with a bow, etc.
Here are some pictures I took during assembly of the prototype so you will have some kind of visual:


Great instructions! I can't wait to try this. Thanks so much.
ReplyDeleteKay Fipps
N.C.
You are very welcome! Once you make one, you want to keep making more!
Delete