It's a new year and time for a new calendar! I was recently in Hobby Lobby and saw that they had a "Petals + Blooms" calendar by Paper Studio to match their other paper collections of the same name. I already had the Petals + Blooms paper pad and a blank calendar, so I decided to make my own. December was the only month I didn't use the Petals + Blooms paper pad. I also used a Petals + Blooms sticker pack and just some scraps I had in my stash. It was like scrapbooking, so it was a fun project to do!
My passion is making cards and other paper projects and sharing my ideas and projects with you.
Wednesday, January 16, 2019
Petals and Blooms Calendar for the New Year
It's a new year and time for a new calendar! I was recently in Hobby Lobby and saw that they had a "Petals + Blooms" calendar by Paper Studio to match their other paper collections of the same name. I already had the Petals + Blooms paper pad and a blank calendar, so I decided to make my own. December was the only month I didn't use the Petals + Blooms paper pad. I also used a Petals + Blooms sticker pack and just some scraps I had in my stash. It was like scrapbooking, so it was a fun project to do!
Thursday, December 20, 2018
Christmas Word Banners
I watched a video by Tina Zinck, Serene Stamper, who made a cute "Be Merry" banner using Stampin' Up products. I didn't have the banner punch or the letter dies she used, so I created mine using my Cricut. I cut the banners using the Pretty Pennants cartridge and I cut the letters using the Plaintin Schoolbook cartridge, cutting the letters with the Tall Ball Font. If you would like to watch Tina's video, here is the link https://www.youtube.com/watch?v=Jtl7ru1foTE
A word of warning! Once you make one banner, you will want to make more! After I made the "Be Merry" banner, I made this "Believe" banner:
And then this "Joy" banner. I used a paper crimper to get the corrugated look.
I am running out of time this year, but next year I plan to make more word banners for my Christmas trees!
Sunday, August 26, 2018
Updated Perpetual Calendar and Box
Back in 2015, when I was a Stampin' Up Demonstrator, Stampin' Up sold a perpetual calendar stamp set. I created perpetual calendar sheets with stamping and cutting instructions, as well as instructions on constructing a box to contain the calendar sheets as well as any cards you wanted to add to the box. See that blog post here I still use that box to this day. I updated the box a little bit by adding different papers, but I am still using it and it has held up well.
I am still getting requests for the PDF for the perpetual calendar. Since Stampin' Up doesn't sell the stamp set any longer and you may not want to purchase a separate stamp set, I decided to update the calendar sheets to include the months already printed on the sheets. I also updated the cutting instructions somewhat to allow for the new format.
If you are interested in purchasing this new PDF, I have added it to my Etsy shop. This is easier than having you contact me on Facebook and having to wait for a reply and to receive the PDF. This way you can download it instantly for a nominal charge. It is not a money making project, just a convenience for both of us. Here is the link to the Perpetual Calendar in my Etsy Shop.
This has really proven to be a handy tool in my craft room for remembering birthdays! I think you will find it useful as well!
Friday, November 10, 2017
Advent Wreath With Tiny Milk Cartons
I wanted to make an advent calendar for my granddaughter this year. After I made the little milk carton for Halloween, I decided to see if I could make an even smaller version and this is what I came up with! They are tiny little milk cartons that measure 1 inch wide by 2 inches high. My granddaughter loves things in miniature, so I think this will be a hit! I am putting small candies and trinkets inside. They will also hold coins, folded up notes with activities to do, etc.
Here they are all finished and lined up. I printed out the numbers on my computer, then punched them out. I layered them with a slightly larger scalloped circle and then another circle, coordinating the circles with the colors of the papers. The papers I used are from Stampin' Up (2013). It's a good way to use up your scraps.
Directions for Mini-Milk Cartons:
- Cut a piece of patterned paper to 3 x 4-1/4 inches
- On long side, score at 1,2,3, and 4 inches
- On short side, score at 1,2 and 2-3/4 inches
- Cut away small squares on top and bottom, right side
- Cut up vertical score lines on bottom up to first horizontal score line
- Fold on all score lines
- Apply adhesive tape to the tab and fold box together
- Fold up bottom tabs and adhere
- Pinch top closed
- Insert goodie or note and close with mini clothespin
- Clip to a wreath or small tree or just put in a basket
After you make a few cartons they go faster and really don't take that long to make. Besides it's fun! Instead of putting them on a little tree, I decided to use a wreath that I can hang on her door!
Friday, November 3, 2017
Christmas Planner
I wanted to share my Christmas Planner with you. I actually made this Christmas Planner last year and really liked it, so I updated it this year using sheets I purchased from Polka Dot Posie Prints on Etsy (see link below). I wanted to share it with you in case you are looking for a simple and cute way to make a Christmas Planner.
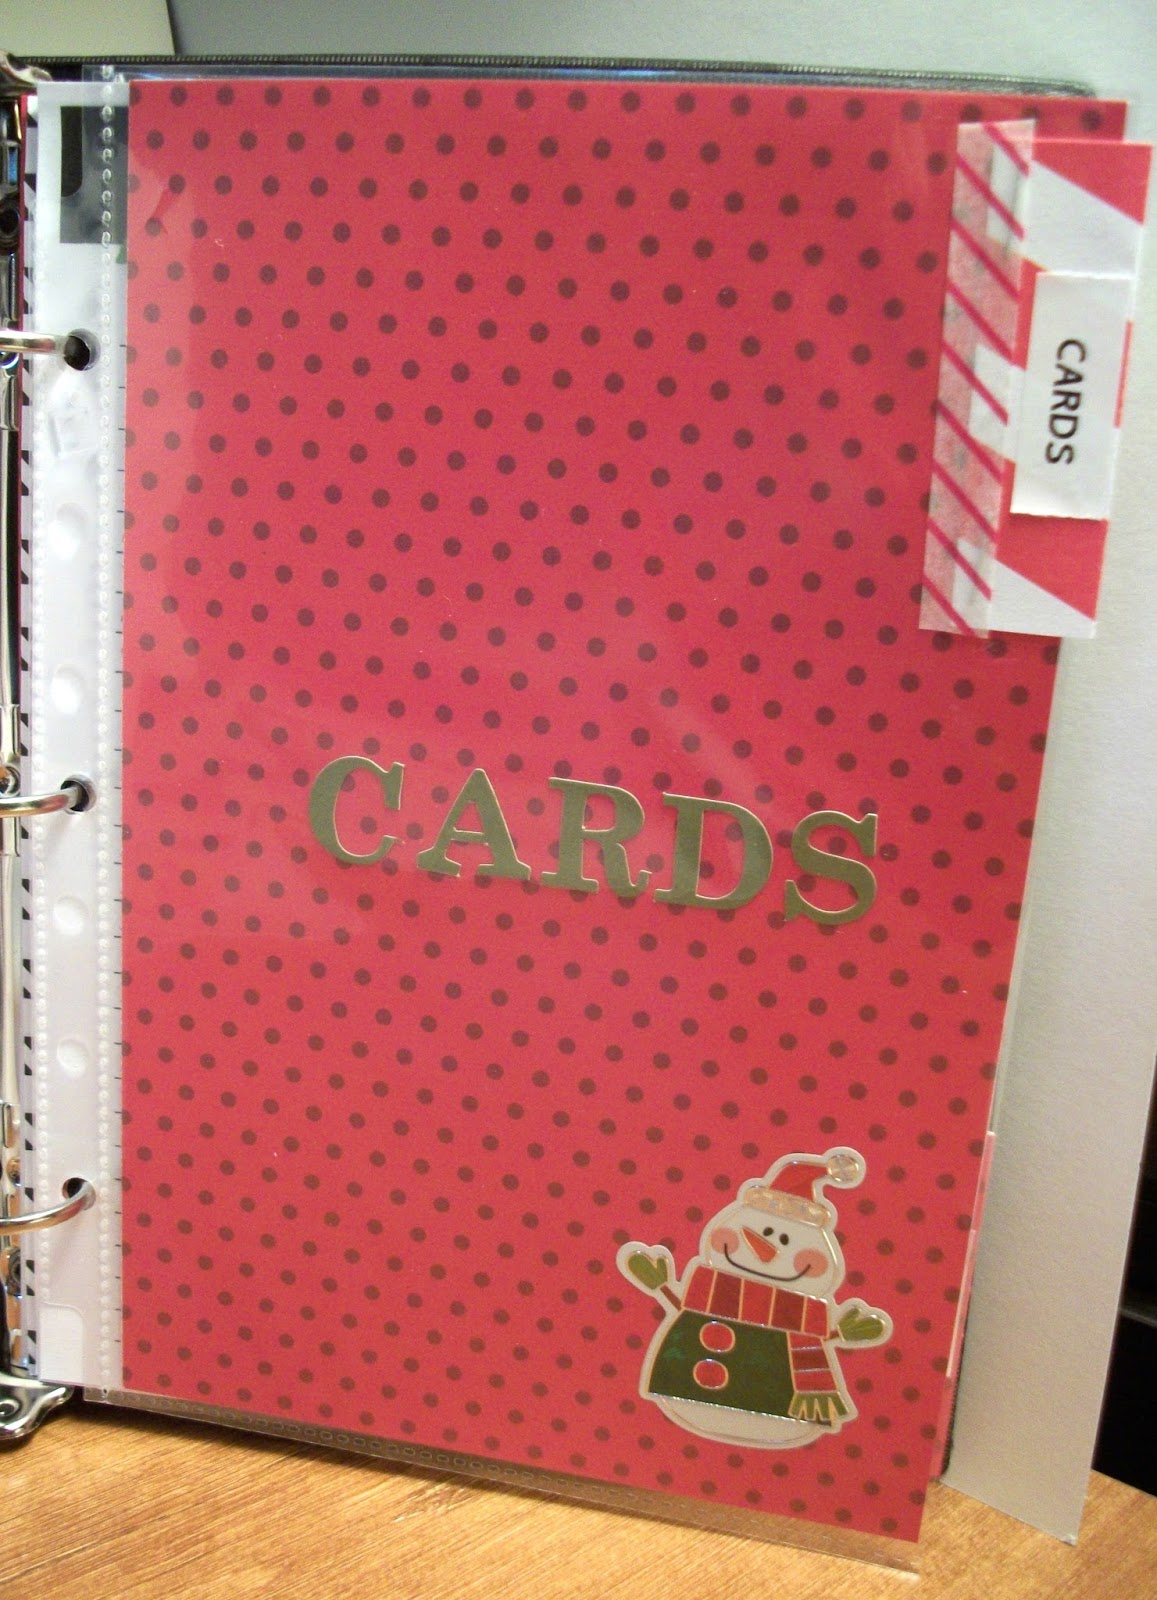
I removed my sheets from last year and added a section in the back of the planner for prior years. This way I can always look back and see what I did the previous year. The rest of my planner is the same as last year with the same dividers I made using Christmas scrapbook paper cut to size and adding handmade tabs. (I decorated both sides of the divider pages.)
This is my planner open. There is a pocket inside the binder cover for a post-it-note pad, lists, etc. I decorated the inside cover page using scrapbook paper, die cuts, stickers, and stamps.
The first section I added was a To-Do List (a printable from the Etsy Shop):
I took an undated Avery calender insert and added the dates for December and inserted it into my planner behind the To-Do List, adding a tab so I can flip to it easily.
Next comes the Gift List section. I decorated the divider with washi tape and stickers.
This is one of the printable lists from Etsy:
My next section is for on-line orders. I do a lot of on-line ordering and want to keep track of the orders, the recipient, when they are expected to arrive, date of arrival, etc.
There is a printable for this section as well:
The next section is my Christmas Card List:
And again, another printable:
There is also a menu section:
and another cute printable:
Finally, I used a premade Avery pocket that I decorated to keep all my receipts in:
Products Used:
The Avery Binder (7 x 9 inches), pockets and accessories can be purchased almost anywhere, including Walmart. I purchased the printable inserts from Polka Dot Posie Print Etsy Shop and I absolutely LOVE them! They come in X-Small, Small and Large (8-1/2 x 11). I purchased the Small which prints 2 pages on an 8-1/2 x 11 sheet of paper and fits my Avery notebook perfectly. The categories also fit in perfectly with what I had already set up last year, but in a much cuter presentation!
I'm ready for the season! Now back to card making and projects!
Note: I also made a personal planner using another Avery notebook in the same way. Click here to see that planner.
Friday, October 27, 2017
Coffee Treat Holders for Halloween
This little Witches Brew K-cup holder is just a 2 x 2 inch square box covered in DSP and wrapped in orange, black and white twine. I used paper and stamps from Stampin' Up, added some black crinkle paper, and a K-cup! (To make a 2 x 2 inch box, cut a piece of cardstock to 6 x 6 inches and score at 2 inches on all 4 sides, cut on score lines and assemble.)
This treat holder is a small milk carton made with directions from Pootles.co.uk (click here). I made the carton using orange cardstock and covered it with panels of Halloween Night DSP from Stampin Up (2016). I mixed a couple stamp sets to get the stamped "Everything pumpkin", die cut it out using a stitched oval shape, then hand cut and added a little pumpkin from the same DSP. I tied some black twine around the carton. This little carton will also hold a K-cup or some small pumpkin candies, tea light candles, etc. The carton is held closed with a gold library clip.
I made this small treat bag using orange and white polka dot paper. You can use a die to create the bag or make your own. (To make your own, start with a piece of paper cut to 7-1/2 x 5-3/4 inches, scoring at 1-3/4" and 5-1/4 inches on the long side, then turning the paper and scoring at 1/2 inch on the side that will be the bottom, which is important if it's directional paper. Fold on score lines, trimming away all but the middle section on the bottom. Adhere the bag together. You can use decorative scissors to cut a small strip from the top of the bag.)
I added a tag cut from a calendar page (see my post dated October 6, 2018 where I turned calendar pages into cards and projects), added some twine, a stamped and cut out image of a coffee cup, a witch's hat, and a greeting from the same Stampin' Up stamp set. I attached the tag to the bag using a heart shaped black paper clip. Inside the treat bag is a packet of mocha latte coffee.
Here is another idea. You may have seen these cute little coffee cup candles at Dollar Tree. I removed the label it came with, traced out a new one in kraft cardstock, and attached it instead. Then I added the greeting, cup and witch's hat. Very little effort for a cute effect!
Halloween doesn't have to just be for kids you know!
Supplies Used:
Pumpkin Pie Cardstock from Stampin' Up
Kraft Cardstock from Hobby Lobby
Polka Dot paper from Stampin' Up (retired)
Spooky Night DSP from Stampin' Up (for witch's hats)
Halloween Night DSP (Stampin' Up - 2016)
Merry Cafe Stamp Set from Stampin' Up
Celebrate Everything Stamp Set from Paper Pumpkin (April 2016)
Stitched Shapes Framelits from Stampin' Up (oval)
Thursday, October 19, 2017
Grateful for You - Stampin' Friends Blog Hop 2017
Welcome to Stampin' Friends Blog Hop for October. This month we are creating giving thanks or Thanksgiving cards and projects.
I created this card by embossing some Early Espresso Cardstock with a fall leaf embossing folder, adding a small border at the bottom using a borders die, and making a pumpkin using several layered ovals cut with stitched dies. I added some die cut leaves, the "grateful" word die, and stamped "for you" onto a small hand cut white banner. For the picket fencce, I cut some strips from wood textures paper, dog-eared the tops, and laid them out in a picket fence pattern.
Supplies Used:
Early Espresso Cardstock - Stampin' Up
Crumb Cake Cardstock - Stampin' Up
Wood Textures DSP Stack - Stampin' Up
Embossing Folder - Paper Studio
Hello Fall Paper Pad - Carta Bella
"Grateful" die cut - Taylored Expressions
Leaf Diecuts - Lawn Fawn
Stitched Hillside Borders - Lawn Fawn
Stitched Shapes Framelits - Stampin Up
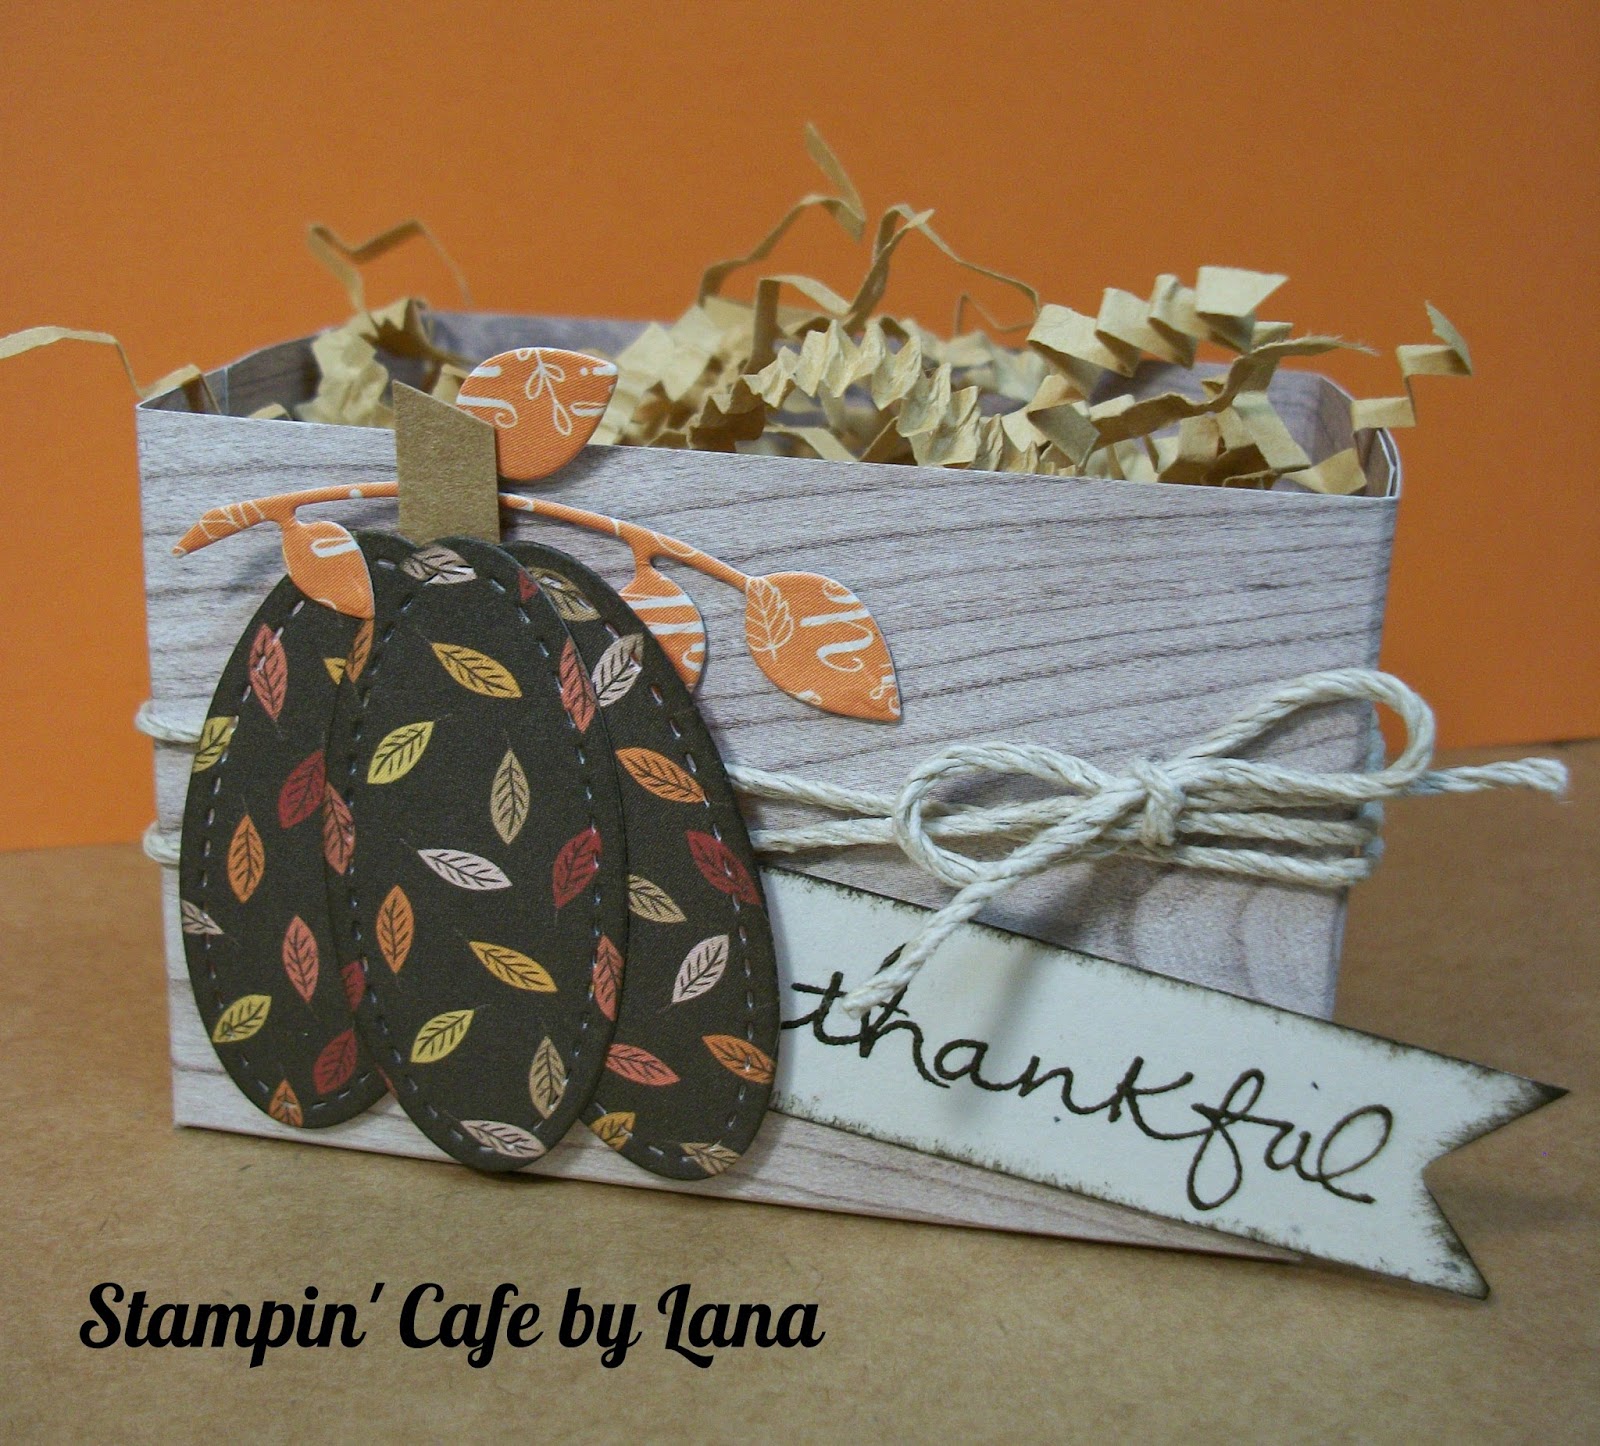
I also made a little "wooden crate" to go along with my card. These would make perfect table favors for Thanksgiving!
I made the same oval layered pumpkin, added some die cut leaves and a "thankful" banner. I added some crinkle paper to the inside of the crate, and tied some twine around it. You can use a die cut for the crate or hand make one with a 6 x 6 piece of wood textures paper, scored at 1-1/2" and 4-1/2" on one side and at 2" and 4" on the other side. Either way, it creates a darling little "wooden crate".
Supplies Used:
Wood Textures DSP Stack - Stampin' Up
Hello Fall Paper Pad - Carta Bella
Leaf Diecuts - Lawn Fawn
Endless Thanks Stamp Set (retired) - Stampin' Up
Stitched Shapes Framelits - Stampin Up
There is a Giveaway this month! Comment on the blogs with the hashtag as shown below and have a chance to win this super kit!
Now come follow along with the other hoppers to see what they have created for you this month!
Friday, October 13, 2017
"I Have My Eyes on You" - Halloween Card & Treat Box
I was shopping at Dollar Treat a while back and saw a cute Halloween decoration featuring a jar full of eyeballs with the words "I have my eyes on you!" The cardmaker in me saw a card in the making!
My card is the standard A2 size card, top folding, using black cardstock. I then added a layer of white, then lime green, and then a piece of striped cardstock in Halloween colors.
I stamped and cut out a Mason jar image and added the googly eyeballs purchased at Dollar Tree. I tied some black twine around the jar top and added it to a stitched die cut purple circle with dimensional adhesive. That circle was then added on top of a lime green circle, and then onto a black one.
I attached two more stitched circles in smaller sizes behind the circles the Mason jar is attached to. I added two larger colored googly eyes to the orange circle. All the circles are cut using Stampin' Up's Stitched Shapes Framelits.
I made the word sentiment on my computer using the BaaBookHmk font in Word (size 20), printed it out on white cardstock, and then cut it down, flagging one end. I added a small scrap of orange patterned cardstock at the bottom edge of the flagged piece.
I then created a small Halloween treat box using the same image, googly eyes and stitched circles. It is a gable box purchased at a craft store. It has been in my stash for awhile so I can't really tell you where it came from, but you can use any treat boxes you may have. I used the same striped paper to decorate the all white box and made the same sentiment on my computer, just making the font smaller (size 16). The box is held closed with a small gold binder clip.
Friday, October 6, 2017
Cards and Gift Packaging Using Calendar Pages
I have been collecting my used Lang Coffee Calendars by Lisa Kaus for years! I just can't bring myself to throw them away. I have used them before for several flipbooks, but otherwise they have sat idle in my craft room waiting to be brought back to life!
While I was cleaning out my papers a few weeks ago, I came across the stack of calendars dating back to 2011 and decided I had to put them to use! I love the artwork so much and have framed a few over the years, but I wanted to do something different. I decided to see if I could make some cards. That then led to a notepad cover, gift packaging and bookmarks! The possibilities are endless!
To make a card, I took a piece of clear plastic (window sheet material, heavyweight cellophane bag, etc.) cut to about 4 x 6 and placed it on various areas of the calendar page. When I found an area that would make a good card, I marked it and cut it out. From there, I found cardstock to coordinate with the prints, trimmed down the image where needed, and made a card! I even used scraps to stamp the greetings on.
Then I took one of my fold top kraft bags and decorated it. I cut out the coffee cup image and then hand cut the J, A, V and A to add on top of the image. I wrapped some twine around the bag and added a small corrugated tag to complete the bag!
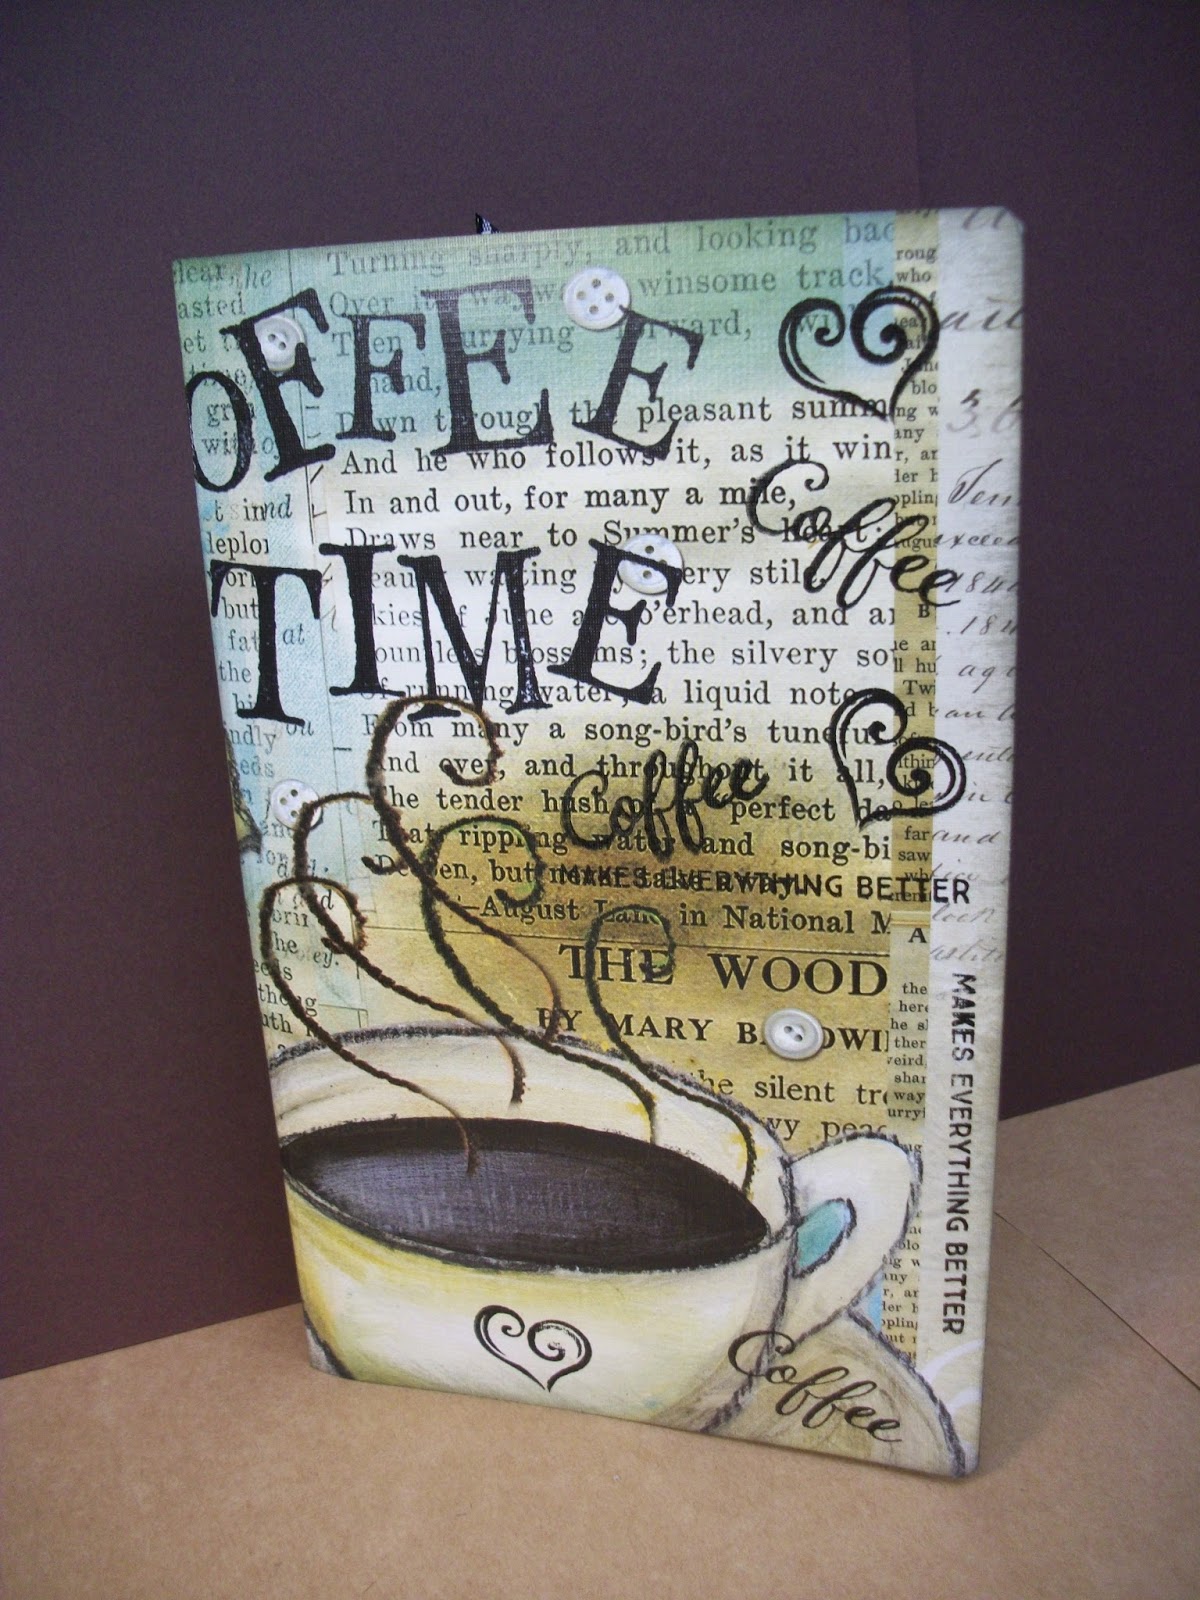
I also made a notepad cover. (I am not including directions because there are a lot out there already.) I stamped on the front and made a small pocket for the inside. I covered the white part of the notepad with another piece of the calendar page. You can cut and piece and decorate to your heart's content!
This is what the notepade looks like open, from the back.
I also made a matching bookmark. I just glued a piece of the calendar onto a tag I cut from kraft cardstock.
As you can tell, this can become addictive! I spent an entire weekend creating cards and projects and I still have plenty of calendar pages left! It is a really fun project. Don't throw this year's calendar away! Put it to good use and see what you can create!
Subscribe to:
Posts
(
Atom
)